
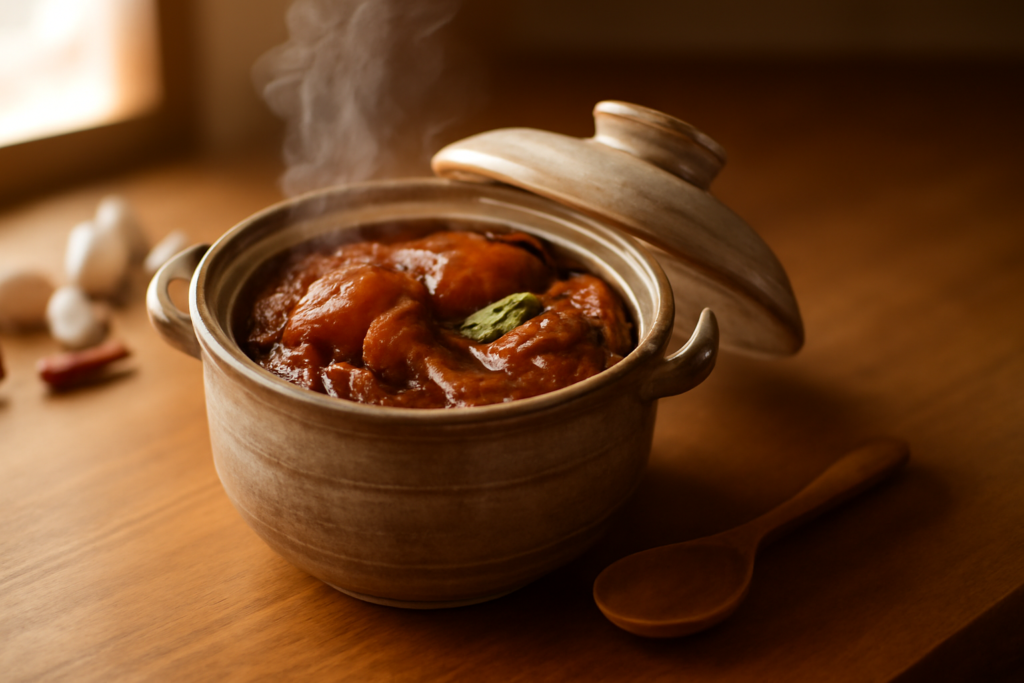
One-Pot Rice Cooker Chicken Adobo Rice: A Filipino Kitchen Staple Made Simple
Overview
Welcome to the easiest way to make Chicken Adobo—the Philippines’ beloved national dish. This modern, single-appliance adaptation is designed specifically for the Filipino kitchen, where a humble rice cooker is often the most-used appliance. Here’s what makes it special: you cook the chicken and rice simultaneously in one pot, and as steam builds, the savory, tangy, garlic-rich marinade renders from the chicken directly into the Jasmine rice below, infusing every single grain with deep adobo flavor.
This is the ultimate tipid (budget-friendly), low-effort meal—perfect for students, busy professionals, and anyone living in a condo or boarding house with limited kitchen space. No stovetop juggling. No multiple pans. Just one switch, one pot, and authentic Filipino comfort food in about 35 minutes.
What You’ll Need: Ingredients & Substitutions
Essential Ingredients for Authentic Adobo Flavor
To create that unmistakable adobo taste—savory, tangy, and deeply garlicky—you’ll need:
- Chicken: 500g bone-in, skin-on chicken thighs or drumsticks (the bone adds richness and body to the rice)
- Rice: 2 cups Filipino long-grain white rice (Dinorado or Jasmine), washed and drained
- Soy Sauce: 4 tbsp dark or regular Filipino soy sauce (Datu Puti or Silver Swan are classics)
- Vinegar: 3 tbsp Filipino cane vinegar (Suka gawa sa tubo) or coconut vinegar (Suka ng niyog)—this is non-negotiable for authentic flavor
- Garlic: 1 whole head, peeled and coarsely crushed (don’t skip this; it’s essential for the aroma)
- Whole Black Peppercorns: 1 tsp, coarsely cracked
- Dried Bay Leaves (Laurél): 3 to 4 leaves
- Water or Light Chicken Stock: Approximately 1¾ to 2 cups (adjust based on your rice cooker’s standard rice-to-water ratio)
- Cooking Oil: 1 tbsp neutral oil (canola or vegetable oil)
- Optional Toppings: Hard-boiled eggs, toasted garlic bits, sliced green onions
Smart Ingredient Swaps for Dietary Needs
For Gluten-Free Cooking:
- Replace Filipino soy sauce with Tamari or liquid aminos (same volume)
For Lower Sodium:
- Reduce soy sauce to 3 tbsp and use a low-sodium soy sauce brand
- The vinegar will still provide plenty of depth
For Vegetarian/Vegan:
- Substitute chicken with mushrooms (shiitake or oyster work beautifully) or extra-firm tofu cut into chunks
- Use vegetable stock instead of chicken stock
- The adobo marinade works just as well with plant-based proteins
For Vinegar Alternatives:
- Coconut aminos + lime juice (2 tbsp coconut aminos + 1 tbsp fresh lime juice)
- Apple cider vinegar (if cane vinegar is unavailable, though the flavor will be slightly different)
Choosing the Right Rice & Protein
Rice Selection:
- White Jasmine or Dinorado: The traditional choice—absorbs the adobo liquid beautifully and stays fluffy
- Brown Rice: Requires 20% more liquid and an extra 5 minutes of resting time; nuttier flavor but denser texture
- Glutinous Rice (Malagkit): Mix 50/50 with white rice for a stickier, more indulgent texture
Protein Alternatives:
- Pork Belly (Liempo): Slice thin; renders fat beautifully into the rice
- Canned Luncheon Meat (Spam): Slice into chunks; adds a salty, savory dimension
- Mushrooms: Use a mix of shiitake and oyster for umami depth
Prep Work: Setting Up for Success
Active Preparation Steps (10 Minutes)
- Wash and drain your rice under cold running water until the water runs clear. This removes excess starch and prevents mushiness.
- Peel and coarsely crush the entire head of garlic. Don’t mince it fine—you want chunky pieces that will infuse the rice with flavor.
- Crack the black peppercorns using the side of a knife or a mortar and pestle. Whole peppercorns release more flavor than pre-ground.
- Cut the chicken into 3-4 inch pieces if using whole thighs or drumsticks. Leave the skin and bone intact.
- Measure out your liquids: soy sauce, vinegar, and water. Have them ready to pour.
Marinating for Maximum Flavor (15–30 Minutes)
This step is highly recommended but not strictly necessary if you’re in a rush.
- Place the chicken pieces in a bowl or container.
- Pour over: 4 tbsp soy sauce, 3 tbsp vinegar, the crushed garlic, cracked peppercorns, and bay leaves.
- Toss gently to coat all pieces evenly.
- Let sit at room temperature for 15 to 30 minutes. The longer you marinate, the deeper the flavor penetrates the meat.
Pro Tip: If marinating longer than 30 minutes, cover and refrigerate. Just bring the chicken back to room temperature before cooking.
Why Marination Matters in a Rice Cooker
In a traditional stovetop adobo, the chicken simmers in the braising liquid for 30+ minutes, allowing the flavors to meld. In a rice cooker, the cooking time is shorter (20–25 minutes), so marinating beforehand ensures the chicken absorbs the adobo essence before it even hits the pot. This is especially important if you’re using a basic rice cooker without extended cooking cycles.
The Cooking Process: Step-by-Step
Layering Your Ingredients Correctly
The order matters. Here’s the exact sequence:
- Wash the rice cooker pot and dry it completely.
- Add the washed, drained rice to the bottom of the pot. Spread it evenly.
- Pour the water or stock over the rice. If you marinated the chicken, pour the entire marinade (including garlic, peppercorns, and bay leaves) over the rice. If you didn’t marinate, add the garlic, peppercorns, and bay leaves now, plus the soy sauce and vinegar.
- Stir gently with a wooden spoon to distribute the seasonings evenly. The rice should be submerged.
- Arrange the chicken pieces in a single layer on top of the rice. Don’t bury them; let them sit on the surface so steam can cook them from above.
The Steam-Infusion Method Explained
Here’s the magic: as the rice cooker heats, water evaporates and turns to steam. This steam cooks the chicken from above while the liquid below cooks the rice. As the chicken renders its fat and the marinade breaks down, these flavors drip down into the rice, creating that signature deep adobo color and taste.
- Close the lid and press the “Cook” switch.
- Do not open the lid during cooking. Every time you lift it, you release steam and extend the cooking time.
- Listen for the click. Most rice cookers will automatically switch to “Warm” when the liquid is absorbed (usually 20–25 minutes).
The Critical Resting Phase (Don’t Skip This)
This is the secret to perfectly cooked chicken and fluffy rice:
- Once the switch pops to “Warm,” resist the urge to open the lid immediately.
- Leave the lid closed and let the rice cooker stay on “Warm” for 10 full minutes.
- During this time, residual heat finishes cooking the chicken through (especially important if pieces are thick), and the rice absorbs any remaining moisture without becoming mushy.
- After 10 minutes, carefully open the lid. The aroma will be incredible.
Troubleshooting: What to Do If Chicken Isn’t Fully Cooked
Scenario: You open the lid and the chicken pieces are still slightly pink inside.
Solution:
- Do not panic or open the lid repeatedly.
- Close the lid immediately and leave it on “Warm” for an additional 10–15 minutes.
- The residual heat is sufficient to cook the meat through.
- If you’re still concerned, splash 2 tablespoons of warm water around the edges of the pot (not on the chicken directly), close the lid, and press “Cook” once more for 3–5 minutes.
Prevention: Cut chicken pieces to a uniform 3-4 inch size. Avoid very thick drumsticks; if using them, pound them slightly to even out thickness.
Serving & Presentation
How to Plate for Maximum Appeal
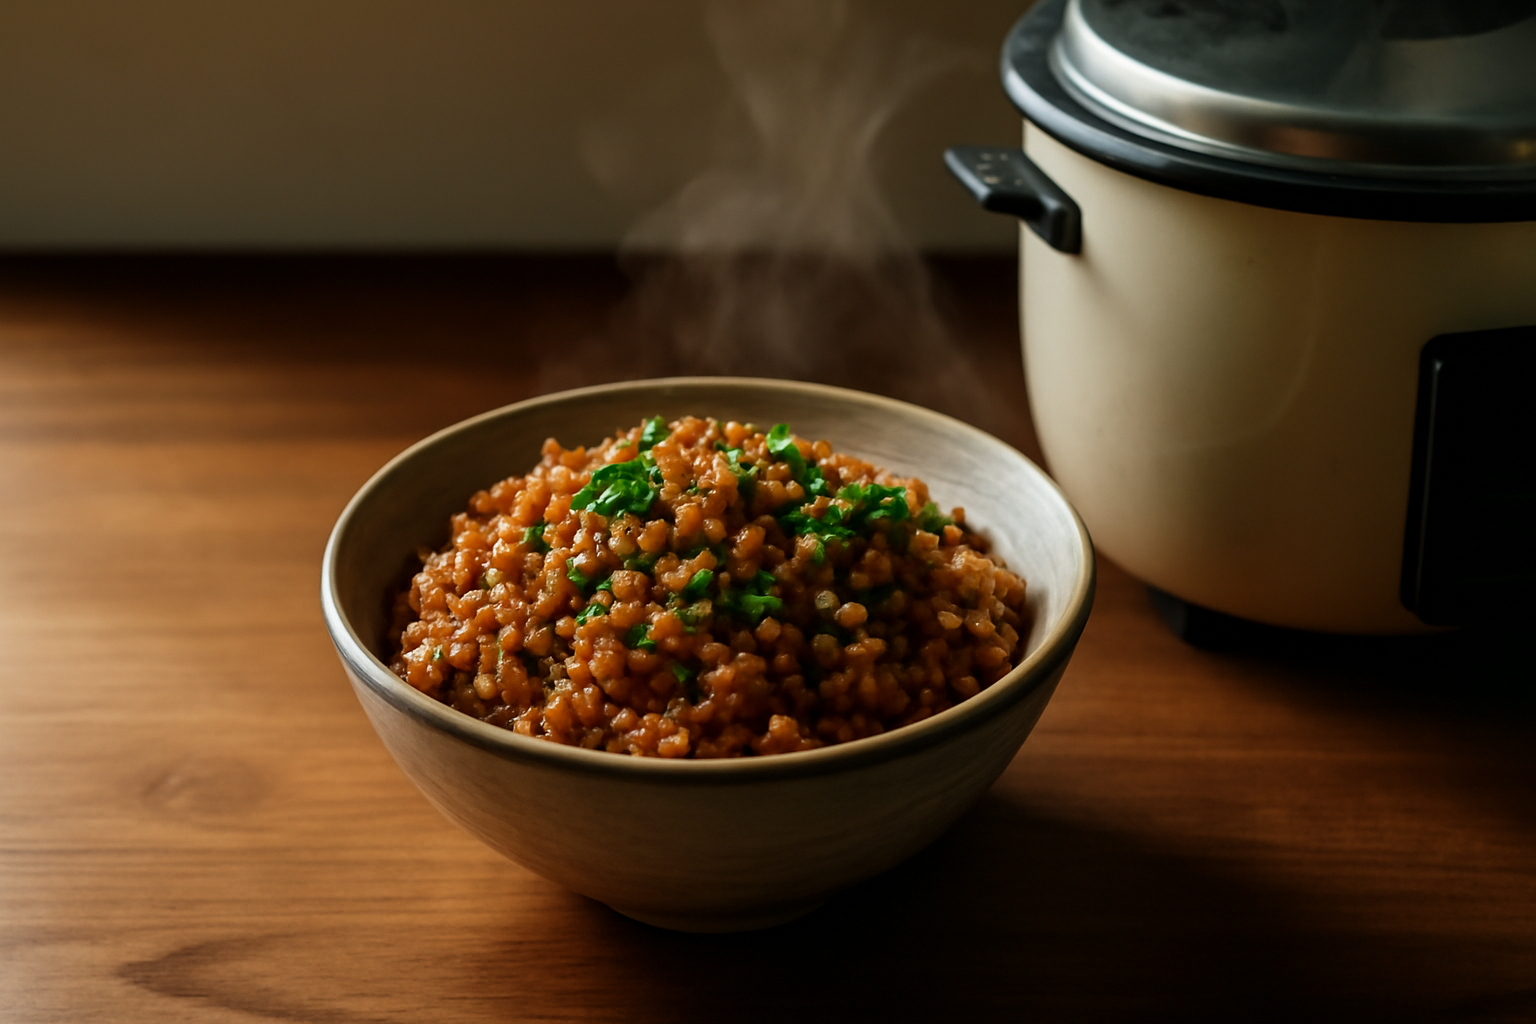
- Fluff the rice gently with a fork, breaking up any clumps. The grains should be separate and glistening with the dark adobo liquid.
- Arrange the chicken on top of the rice in the center of the plate or platter.
- Spoon extra sauce from the bottom of the pot over the chicken and rice.
- Serve directly from the pot for a casual, family-style meal, or transfer to a large platter for a more formal presentation.
Garnishes That Elevate the Dish
- Toasted Garlic Bits: Fry sliced garlic in a bit of oil until golden and crispy. Scatter over the top for crunch and aroma.
- Freshly Chopped Scallions (Green Onions): Adds a fresh, bright contrast to the rich adobo.
- Hard-Boiled Egg Halves: A classic Filipino pairing. The creamy yolk complements the savory rice.
- Fresh Cilantro: Optional, but adds a modern touch.
Complementary Side Dishes
Adobo rice is rich and savory, so balance it with fresh, acidic, or cooling sides:
- Sliced Fresh Tomatoes: Native tomatoes (kamatis) with a pinch of salt
- Cucumber Slices: Cool and refreshing
- Atchara (Pickled Green Papaya): The vinegary crunch cuts through the richness beautifully
- Simple Green Salad: Dressed with lime juice and a touch of fish sauce
- Steamed Bok Choy or Spinach: A light vegetable to balance the meal
Storage & Reheating
Refrigerating Leftovers Properly
- Cool the rice to room temperature (about 30 minutes) before storing.
- Transfer to an airtight container within 2 hours of cooking.
- Refrigerate immediately. Adobo rice keeps well for 3 to 4 days.
- Label the container with the date so you don’t forget when you made it.
Freezing for Up to One Month
- Cool completely before freezing.
- Portion into individual servings in freezer bags or airtight containers (this makes reheating easier).
- Freeze for up to 1 month. The adobo flavor actually deepens slightly as it freezes.
- Thaw overnight in the refrigerator before reheating, or reheat directly from frozen (add 2–3 extra minutes).
Best Reheating Methods (Microwave vs. Rice Cooker)
Microwave Method (Fastest):
- Transfer a portion to a microwave-safe bowl.
- Sprinkle 1 tablespoon of water over the rice to restore moisture.
- Cover loosely with a paper towel (not plastic wrap, which traps too much steam).
- Microwave on high for 1.5 to 2 minutes until heated through.
- Stir gently and serve.
Rice Cooker Method (Best Texture):
- Transfer leftovers to the rice cooker pot.
- Add 2 tablespoons of water and stir gently.
- Press “Cook” and let it run until it switches to “Warm” (about 5–8 minutes).
- Let rest on “Warm” for 5 minutes before serving.
- This method restores the rice to nearly fresh-cooked texture.
Stovetop Method (For Larger Portions):
- Heat a non-stick pan over medium heat.
- Add the rice and chicken with 2–3 tablespoons of water.
- Stir occasionally for 3–5 minutes until heated through.
- Cover with a lid to trap steam if the rice seems dry.
Nutritional Breakdown
Macronutrient Profile
Per serving (1 cup rice + 1 chicken piece, approximately 350g):
- Calories: 450–500 kcal
- Protein: 28–32g (from the chicken)
- Carbohydrates: 48–52g (from the rice)
- Fat: 12–16g (from the chicken skin and oil)
- Fiber: 0–1g (white rice is low in fiber)
This is a complete, balanced meal that provides sustained energy from carbs, muscle-building protein, and satisfying fat.
Sodium Content & How to Reduce It
Standard Recipe Sodium: Approximately 1,200–1,400mg per serving
Filipino soy sauce is naturally high in sodium. If you’re managing blood pressure or sodium intake:
- Reduce soy sauce from 4 tbsp to 3 tbsp
- Use low-sodium soy sauce (reduces sodium by ~30%)
- Increase vinegar slightly (to 4 tbsp) to compensate for the salty depth you’re reducing
- Add extra garlic and peppercorns for more flavor without sodium
With these adjustments, you can reduce sodium to 900–1,000mg per serving while maintaining authentic taste.
Fat Content: Bone-In vs. Skinless Chicken
Bone-In, Skin-On Chicken (Traditional):
- Fat per serving: 14–16g
- Renders natural collagen and gelatin into the rice, creating a silkier texture
- More flavorful and authentic
Skinless Chicken Breasts (Lighter Option):
- Fat per serving: 6–8g
- Reduces calories by ~80 per serving
- Slightly drier texture; compensate by adding an extra ½ tbsp of oil to the pot
- Still delicious, just less rich
Recommendation: Use bone-in thighs for the best flavor and texture, but skinless is a perfectly valid lighter alternative.
Common Questions Answered
Will the Vinegar Taste Raw or Harsh?
Short answer: No.
In a traditional stovetop adobo, the vinegar simmers in an open pan for 30+ minutes, allowing the harsh acetic acid to evaporate. In a rice cooker, the lid is sealed, so you might worry the vinegar stays sharp.
Here’s what actually happens: The high heat (around 212°F / 100°C) and the steam trapped inside the sealed pot break down the acetic acid molecules, mellowing them into a pleasant, rounded sourness. By the time the rice cooker switches to “Warm,” the vinegar has transformed into a subtle, savory tang that enhances rather than dominates the dish.
Tip: If you’re still nervous, use coconut vinegar instead of cane vinegar—it’s naturally milder and slightly sweet.
What If My Rice Cooker Switches to “Warm” Too Early?
Scenario: The rice cooker switches to “Warm” after only 15 minutes, but the rice still looks wet.
Causes:
- Your rice cooker has a lower wattage (older models)
- You added slightly too much liquid
- The lid isn’t sealing properly
Solutions:
- Do not open the lid. Leave it on “Warm” for the full 10-minute resting period.
- If after 10 minutes the rice is still visibly wet, press “Cook” again for 3–5 minutes.
- For future batches, reduce water by 2–3 tablespoons.
Prevention: Know your rice cooker’s quirks. Make a test batch of plain rice first to see how much liquid it needs.
Do I Need a Fancy Digital Rice Cooker?
Absolutely not.
This recipe was specifically designed for the basic, single-switch mechanical rice cooker found in most Filipino homes—the kind with just “Cook” and “Warm” settings. No fuzzy logic. No multiple cooking modes. Just heat and steam.
In fact, simple rice cookers often work better for this recipe because:
- They heat more consistently
- There’s no risk of a “quick cook” setting cutting the cycle short
- They’re more affordable and durable
What you need:
- A rice cooker with a “Cook” switch that automatically pops to “Warm”
- A tight-fitting lid
- Capacity for at least 4 cups of cooked rice (a standard 2-liter / 6-cup cooker is perfect)
Variations
Pork Belly Adobo Rice (Liempo)
Substitute the chicken with 500g pork belly, sliced thin (about ¼ inch). The fat renders beautifully into the rice, creating an even richer dish. Follow the same marinating and cooking process. Pork belly may take 2–3 minutes longer to cook through, so if needed, extend the “Warm” resting time to 12–15 minutes.
Spam Adobo Rice
Cut a can of Spam or canned luncheon meat into ½-inch cubes. Layer on top of the rice as usual. This is a beloved Filipino comfort food variation—the salty, savory meat pairs perfectly with the adobo marinade. No additional marinating needed; the Spam is already seasoned.
Vegetarian Mushroom Adobo Rice
Use 400g mixed mushrooms (shiitake, oyster, and cremini), cut into bite-sized chunks. Marinate in the same adobo mixture. Use vegetable stock instead of chicken stock. The umami from the mushrooms creates a surprisingly deep, satisfying dish that even meat-eaters will enjoy.
Seafood Adobo Rice
Try 400g large shrimp or 500g squid, cut into rings. Marinate for only 10 minutes (seafood absorbs flavors quickly). Seafood cooks faster than chicken, so check for doneness at the 20-minute mark. The adobo marinade complements seafood beautifully, especially with the addition of 1 tbsp of fish sauce (patis).
Storage Tips
- Airtight containers are essential to prevent the rice from drying out
- Separate the chicken from the rice if storing for more than 2 days; the chicken can become mushy
- Freeze in individual portions for easy weeknight reheating
- Label everything with the date—adobo rice keeps for 3–4 days refrigerated, 1 month frozen
Nutrition Notes
- High in carbohydrates: White rice provides quick, sustained energy
- Complete protein: Chicken offers all nine essential amino acids
- Sodium-conscious: Consider using low-sodium soy sauce if managing blood pressure
- Bone broth benefit: Cooking with bone-in chicken creates a collagen-rich dish that supports joint and gut health
- Vegetable pairing: Serve with fresh vegetables to add fiber and micronutrients
Frequently Asked Questions
Q: Will the vinegar taste harsh or raw since it isn’t boiled off in an open pan?
A: No. The high heat and steam trapped inside the rice cooker break down the harsh acetic acid in the vinegar, mellowing it out into a pleasant, rounded sourness. The sealed environment actually works in your favor here.
Q: What should I do if the rice cooker switches to “Warm” but the chicken isn’t fully cooked?
A: This can happen if the pieces are too thick. Do not open the lid; leave it on the “Warm” setting for an extra 10–15 minutes. The residual heat is strong enough to cook the meat through. If needed, splash 2 tablespoons of warm water around the edges and push the switch to “Cook” once more for 3–5 minutes.
Q: Can I use a simple, single-switch warm/cook rice cooker without fancy settings?
A: Yes, this recipe was specifically designed for basic single-switch mechanical rice cookers found in most Filipino homes. You do not need a digital multi-cooker. In fact, simple cookers often work better for this dish.
Q: How long can I store leftovers?
A: Refrigerate in an airtight container for 3–4 days. Freeze for up to 1 month. Reheat in the microwave with a splash of water or use the rice cooker method for best results.
Q: What are good meat alternatives for this recipe?
A: Try pork belly (liempo) sliced thin, canned luncheon meat (Spam), or mushrooms for a vegetarian version. All work beautifully with the adobo marinade. Seafood like shrimp and squid are also excellent choices.
Q: Can I make this recipe without marinating?
A: Yes, you can skip marinating and go straight to cooking. However, marinating for even 15 minutes significantly deepens the flavor, especially in a rice cooker where cooking time is shorter than traditional stovetop adobo. If you’re in a rush, at least mix the soy sauce, vinegar, and garlic together and pour them over the rice before adding the chicken.
Q: Is this dish gluten-free?
A: Traditional Filipino soy sauce contains wheat, so it’s not gluten-free. However, you can easily make a gluten-free version by substituting Tamari or liquid aminos (which are wheat-free) in the same quantity. Everything else in the recipe is naturally gluten-free.
Q: Can I double this recipe?
A: Yes, but only if your rice cooker is large enough (at least 10-cup capacity). Double the ingredients proportionally. The cooking time may extend by 5–10 minutes due to the larger volume. Ensure the chicken pieces are still in a single layer on top; if they stack, they may not cook evenly.
Final Thoughts
This one-pot rice cooker chicken adobo is more than just a convenient meal—it’s a celebration of Filipino home cooking. It honors the tradition of adobo while embracing the modern reality of busy lives and small kitchens. Every grain of rice tells the story of the chicken that cooked above it, infused with garlic, vinegar, and the deep, savory essence of the Philippines’ most iconic dish.
Whether you’re a student in a dorm, a busy professional, or simply someone who loves authentic Filipino food without the fuss, this recipe delivers. Make it once, and it’ll become a weeknight staple. Make it twice, and you’ll understand why it’s a national treasure.
Lasang-bahay. Tipid. Masarap. Home-cooked. Budget-friendly. Delicious.
Happy cooking, and enjoy your adobo!